Wednesday, December 31, 2014

DIY Rice Pack

     These are my go-to for cold winter nights, or any type of pain. Microwave them for 2-4 minutes or pop them in the freezer for a cold pack and it's like Heaven! And they are so simple to make! I went to Jo-Ann's Fabric and got a yard of flannel for $3.50 (Also Walmart is incredibly cheap for fabric, that would be my #1 suggestion). I used the whole yard and make 5 packs out of it! I used about 3 pounds of white rice per pack (Target sells 5 lb bags for $2).

     Things you need:
1. Flannel
2. White rice
3. Sewing machine (you can also do this by hand, but if you have a sewing machine you can bust these out in less than five minutes).

     Step 1: Cut your fabric! I measured mine to be about 16"x16" because one side ends up doubled over, and that amount of fabric gives you lots of leeway in case you mess up.


     Step 2: Fold the fabric (the non-printed side) hot-dog style, so that you have one long side that you don't even have to sew! Now, you can begin sewing one of the short sides (starting with the corner against your folded side). Make sure you start sewing, then sew in reverse so you have knotted thread.

     Step 3: Once you get to the end of that side, keep your needle down, but lift up your presser foot, turn your fabric and start to sew your long side.


     Step 4: Once you get to the end of this side, go in reverse to knot your thread once again. Now cut off the extra, and fold your fabric inside out. You should have an open short side that has not yet been sewn. Now get your rice ready!


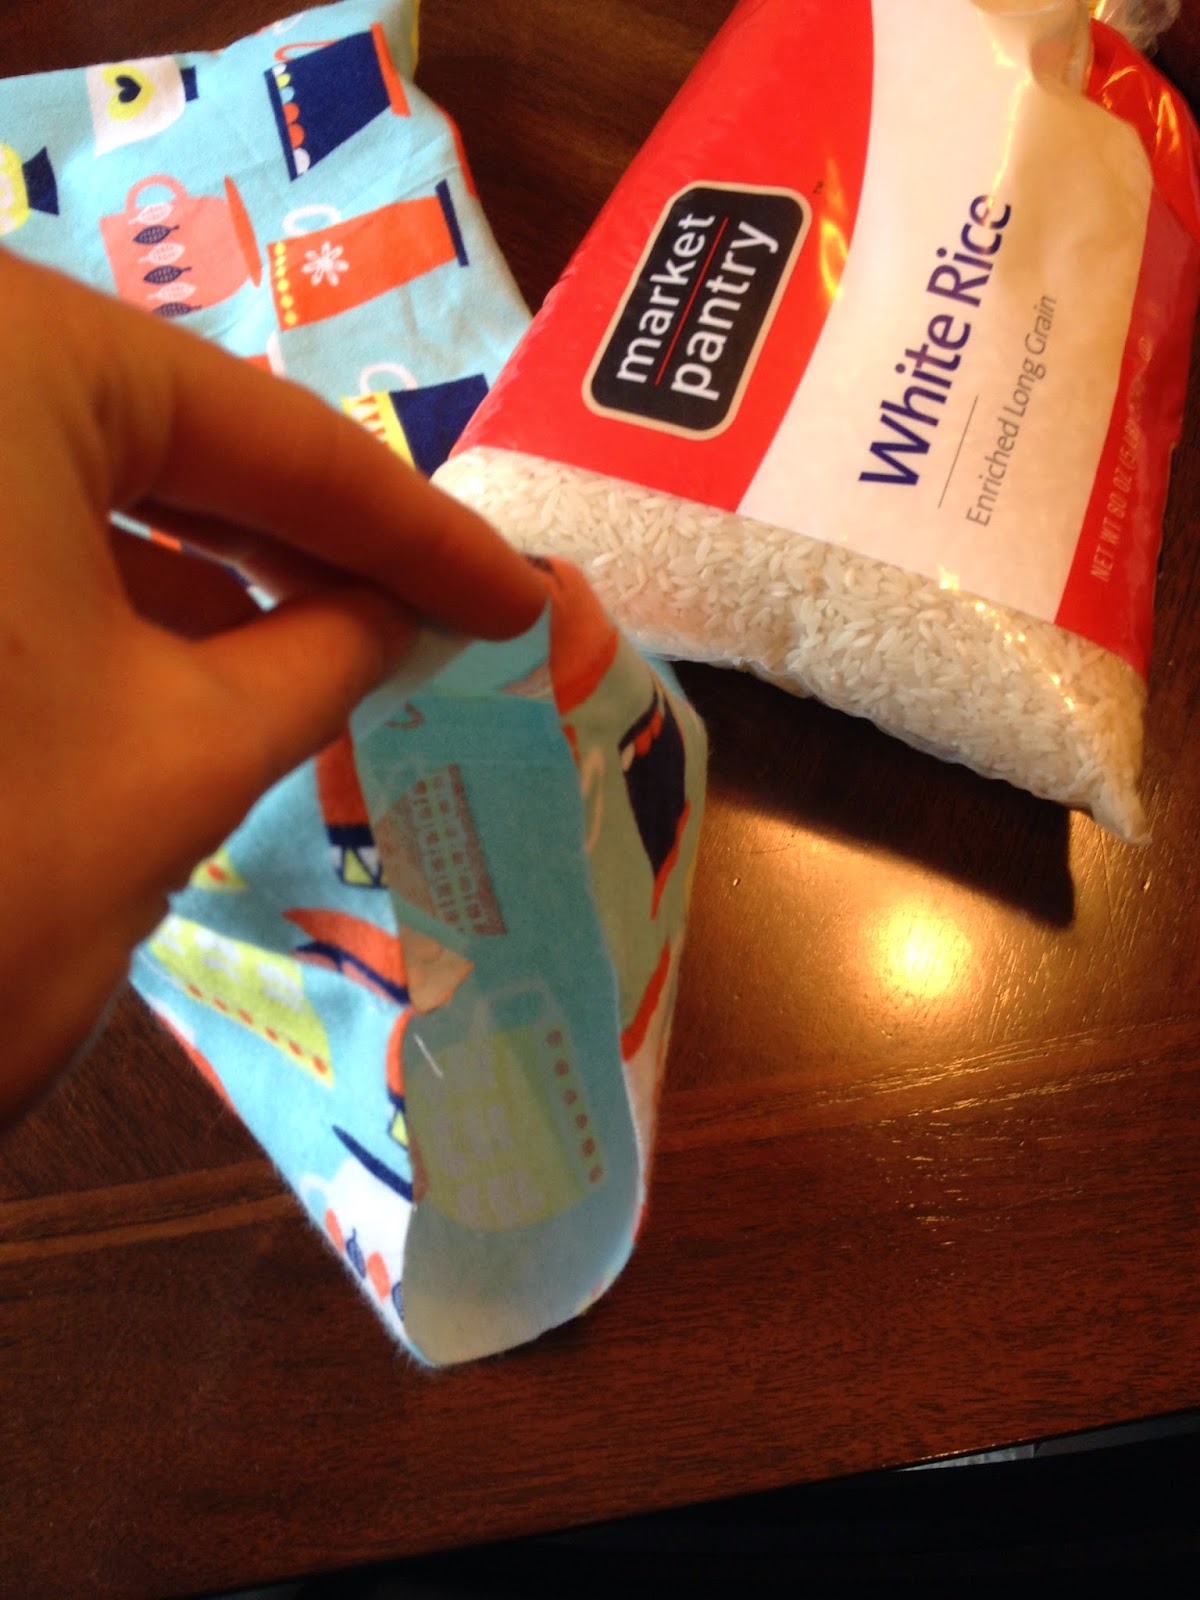
     Step 5: Fill your bag with approximately 3 pounds of rice, until it looks about like this...


     Step 6: I like to fold my ends in as much as possible (while keeping the rice pack a good length). It makes it look a lot nicer! Tuck in your ends and get out the pins to keep yourself in a nice straight line on the machine (unless you're confident enough to set the pins aside). 


     Step 7: Sew from end to end, knotting each side and making sure to sew the corners as far as you can so no rice can sneak out!


     Step 8: Heat it or gift it! They make great gifts! After my sides were tucked in and my pack was done, my measurements were approximately 7.5" W x 14.5" L. This length is the perfect length for people who want to use it on their neck. And if you're going to make these in bulk, you can just use your first one as a simple guide and skip all the measuring! 


Let me know if there are any thoughts, comments, or questions! And if you make some too, share them with me!


Sunday, December 28, 2014

How To: The Red Lip

     After finding a video that made the struggle of a bold lip easy as pie (https://www.youtube.com/watch?v=nXHLVkb1U8A), I developed an obsession for it...and my lipstick collection is slowly growing. MAC is my brand of choice, it's expensive, but totally worth the splurge, it's long lasting and they have so many colors and finishes to choose from. And if you get the chance to hit the MAC counter at Nordstrom, they're wonderful there (warning: it is extremely dangerous).


My advice is to have a lip pencil for each lipstick color you have, it makes a world of difference. I like matchy-matchy, but you can also get a darker lip pencil to make your lips really stand out.


     Step 1: Start with your natural lip color, and make sure your lips are thoroughly moisturized and exfoliated, this is very important.
   
     Step 2: Pick out your lip liner (I chose "Brick" by MAC), and start to outline your lip, as carefully as possible. Try and be relaxed so that it goes on smoothly.
                
     
     It should look like something this once you've outlined your lips. And believe me, they will NEVER look perfect.

     Step 3: Fill your lips with liner until you have what looks like a small "O" of your natural lip color in the middle:
     Step 4: Choose your lipstick color (I chose "Russian Red" by MAC from their Matte collection, I think this finish stays on the longest). Apply.
     

     Step 5: Using the pointed side of your lipstick, fill in any spots you missed with the lip liner, and make sure you connect the corners of your lips.
     Step 6: Touch up with makeup remover, or concealer on any rough spots you notice. Dress it up and you're good to go!
 

Saturday, December 27, 2014

DIY Alberta Ferretti Pumps

     Lately I've had a weakness for designer shoes (which totally isn't in the budget for a college student who works minimum wage in retail), so I've had to learn to either resist, or take my own twist on it. And when I saw the Spring 2014 Alberta Ferretti pumps I couldn't resist. I mean, come on, look at these beauties...


     Grab some simple black heels, some satin ribbon, a hot glue gun, and you are good to go!  

     The DIY inspiration all came from http://www.dreamcreate.ca/diy-alberta-ferretti-party-shoes/, which just so happens to now be my favorite blog. I followed the instructions step by step, but the hardest part was finding my shoes since she just had hers lying around work (wherever she works I want her job, because that's some Anne Hathaway in Devil Wears Prada stuff right there).

     I have a serious addiction to pointed toe shoes, so I ended up with the Sam Edelman "Danielle" pump in black suede. They have a metal heel and a cute snakeskin accent on the back, and they're a comfortable heel which is a huge bonus. (http://www.polyvore.com/sam_edelman_womens_danielle_court/thing?id=67053193). And honestly betting on my luck with clearance items, they're probably sold out by now (I somehow always end up with the last one in my size, which is the only thing I ever get lucky with, since I'm usually the girl running into posts and getting my clothing stuck on trees while I'm walking down the street).

     I got my black satin ribbon on Amazon for really cheap since I don't have a craft store near me (huge bummer, but probably a good thing because that would be totally dangerous). I ended up with the 1 and 1/2" ribbon and if I do it again, I'd go a tad thinner, probably 3/4" or so. I used the entire roll of ribbon for my shoes. (http://www.amazon.com/gp/product/B005IW8TUS/ref=oh_aui_detailpage_o01_s00?ie=UTF8&psc=1).

     You can read the steps easily on the link to the blog above, but if you want a short and simple version, here are the steps:
1. Cut your roll of ribbon in half.
2. Fold each of your ribbons in half and mark the middle point, you'll want to hot glue this piece on the base of the back of your heel (as close to the actual heel as you can).
3. Test it out! Make sure you like the way that ribbon lies and ties, and it is a piece of cake to remove the ribbon and redo the glueing if needed. I adjusted mine quite a few times before I felt like they looked perfect for what I wanted. I crossed my ribbon in the front of my foot, then tied on the side just above my ankle.

     These are great party shoes, relatively cheap to make depending on your heel of choice (mine were about $60 to make with all my supplies), and you can convert them back into the plain ol' heel when you feel like it by just peeling off your ribbon and glue.
   
     Here's my version. Please excuse my nasty college student floors (I'd blame my boyfriend, but the craftiness on the floor is all me)! I'd love to hear any feedback, questions, or comments!


The Big Snip

     After 19 years of having the same, straight, long, brown hair that tangles so much that a bird could contently nest in it, I felt like it was time for a change. So, last week, my friend Sarah (she's kind of the best, you all should meet her) went to the salon with me.
     It was definitely a shock at first, and my neck still isn't used to being naked, but I totally love it. It completely transformed my style and my attitude. It's amazing what such a small change can do for you.
     My locks are now in an envelope waiting for me to take them to the post office. A whole 16-inches of hair, I couldn't believe it!
     I'm hoping that someone can love my hair as much as I did for the years I had it.
     I wouldn't change that salon day last week for the world. I'm feeling bold and like I have a whole different style than I've ever had. (Meaning - unfortunately - that every beauty and fashion store feels like they're calling my name now). I can't wait to try this new me and redefine my style!