
The Before


The Tank
What you'll need:
Fabric scissors
Sewing machine and sewing materials (ie. thread)
The steps:
1. Mark on the dress where you want your tank to be. Cut one to two inches below this line to allow for the hem.
2. Start pinning! This is such an important step to have a nicely finished product, especially when you're working with something as stretchy as knit, which can be hard to control in the sewing machine. I have a simple sewing machine, so I folded my fabric in twice before pinning it down, so that I had a little more fabric in my machine, that way the tension would be more accurate for such a thin fabric.

3. Pick your thread color! I did my upper thread black to match the fabric and kept the bobbin thread white because (1) no one else sees it, (2) I like to use the more obvious color as a guide of how straight my sewing is!


4. Pair with a cute outfit!
After - The Tank
Front view


Side view


Back view


Shorts: Edwin
Dress converted to tank: Ecote
Necklace: Studio Beausoleil
Lip color: Julep Plush Pout in Cardinal Red
The Headband
What you'll need:
Fabric scissors
Fabric measuring tape
Scraps from the skirt of the dress
Sewing machine and sewing materials (ie. thread)
The steps:
1. Measure the circumference of your head. You are going to make two strips of fabric this length, plus a couple inches for seam allowance.
2. Measure the wide of your strips to be about 8" wide (unless you want a wider headband).

3. Fold the strip of fabric in half, hot-dog style, inside out, and sew along the long side, leaving two open ends. Shown below is the long edge that I have sewn, and you can see that the edge where my thumb is placed is raw and open.

4. Turn your fabric inside out again, so that the fabric you want is on the outside.
5. Repeat above steps for second strip of fabric.
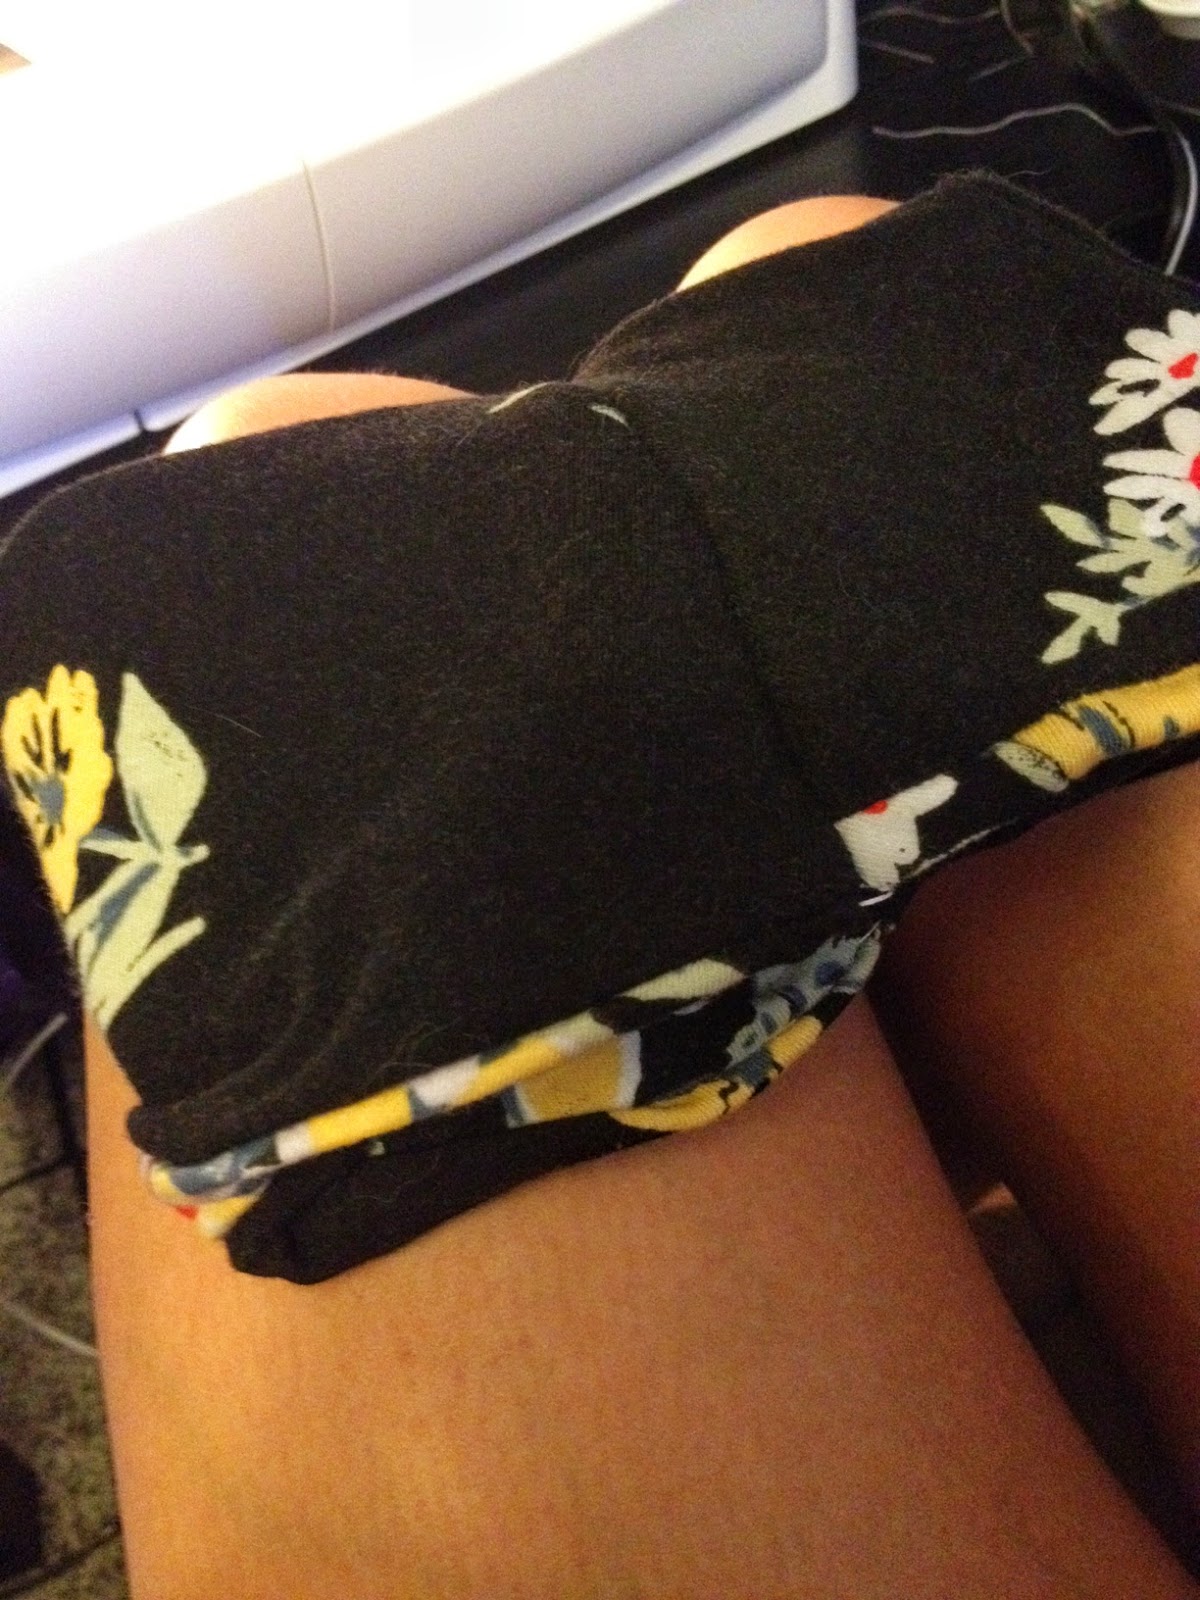
6. Lie your two strips criss-crossed, with the seam on the outside (not underneath or on top), this makes the seam less visible on your finished product.

7. Fold the strip of fabric that is on the bottom over the second strip of fabric. Adjust as necessary so that the ends of each strip meet.

8. Now fold the second strip until it's ends meet and you have a "V" of fabric.

9. Grab the ends and pull taught, this will create a knot-like look in the center of the fabric, like the one below.

10. Time to sew your ends together! If you are just making this for yourself, the best way to sew is to connect both ends and sew the stack together. Then you can flip your headband and no one will see the seam! If you are giving it as a gift, you may want to go the more complicated route, which means sewing more diligently and taking more time, which I plan to do a tutorial on soon, but for the meantime, here is an example.


11. Turn your headband inside out and you can't see the seam at all!

After - The Headband

If you have any fun clothing transformations you'd like to share, I would love to see or hear about them! Any ideas of what you guys would like to see pop up on the blog anytime soon? Your opinion and voice means the world to me!
Xoxo
No comments:
Post a Comment