
In the wintertime, my favorite thing is to cuddle up with a cozy fleece blanket, a cup of tea, and a good movie (regardless of whether or not I'll sleep through it). And sometimes when I get sick of being cooped up inside, I need something to keep my hands busy. One of my favorite crafts lately has been the "no-sew blanket", because it keeps me entertained, it is cheap (usually less than $20 for a whole blanket if you go to Walmart or Jo-Ann's when the sales are good), and I get a blanket to cuddle with or a good gift to give in very little time!
What you need:
1. 2 yards of any anti-pill fleece
2. 2 yards of another anti-pill fleece (you'll be putting these two back-to-back, so make sure you like how they look together)
3. A pair of scissors
4. A small ruler or fabric measuring tape
5. A large area to lay out your fabric and sit on the floor with it
6. Less than an hour of your time
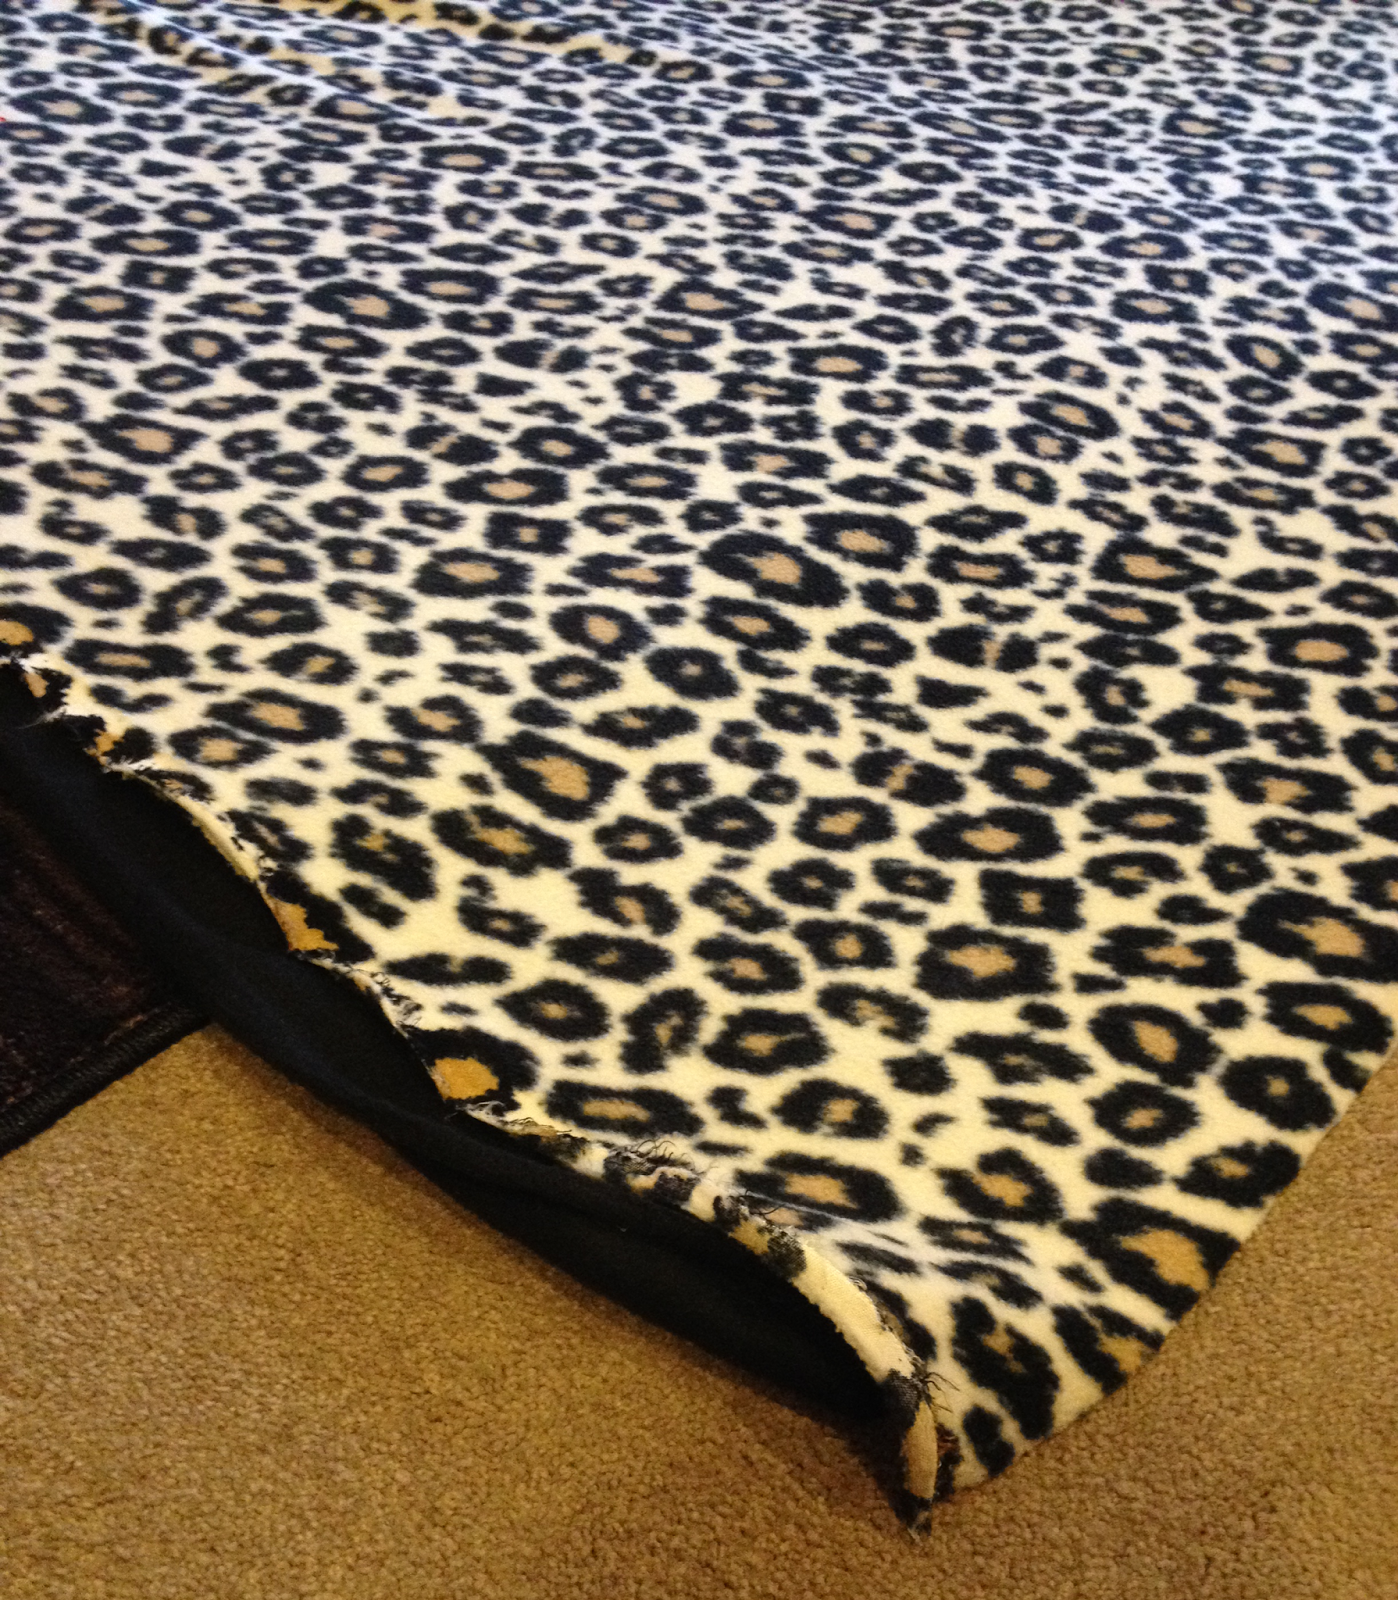
Step 1: Get your supplies together! Here is what I started with to make my mom's blanket...

Step 2: Lay your fabric out with one on top of each other as evenly as possible, printed side out (I like to do one solid and one printed fleece). Trim your edges until it looks nice and even. It will never look perfect, and the best thing about these blankets is that it is really hard to mess them up!
Step 3: On each of the four corners of your blanket, cut out a 2"x2" square (you can do more or fewer inches, this is just measuring how long your tassels/ties will be).


Step 4: Cut 1" wide x 2" long tassels (or however long your chosen corner length) along each side of your blanket.

Step 5: At each of the four corners of your blanket, tie the first tassel (they get harder to find as you get further along your blanket, so I find it easiest to make sure these ones are tied first). You'll be tying the two fabrics together. In my case, I tied the cheetah print fabric with the solid black piece that is directly underneath it. When you tie, don't pull too tight, because the more taught your blanket is, the less square/rectangular it will be. Also, make sure you tie twice to knot your blanket (this way, it will stay perfectly in tact when you put it through the washer for the first time).

Step 6: Tie the entire perimeter of your blanket, knotting each tie! It will look something like this...

Step 7: Gift it or enjoy it yourself! My mom loves hers :)

No comments:
Post a Comment