
Today's post is another V-day inspired post, but this time it's purely a makeup post (don't worry, fashion will be up tomorrow). We are working through two different looks together today, one simple eye look with a bold Barbie pink lip, and one deeper cranberry eye with a muted nude lip. Hopefully this inspires you guys to create your own fun v-day look! As per usual recently, there is a video walking you through these looks, but I am going to walk you guys through it briefly on here as well, in case you don't feel like sitting through a 20 minute tutorial (unlike me, who watches those all day long on my days off, I'm weird). Let's get goin'!
P.S. All products I used are mentioned in the post, but remember that any shadows with the right tones can be used to create these looks! Also, all products and their shades (as well as my face makeup done for these 2 looks) are listed in the describe box of the video below.
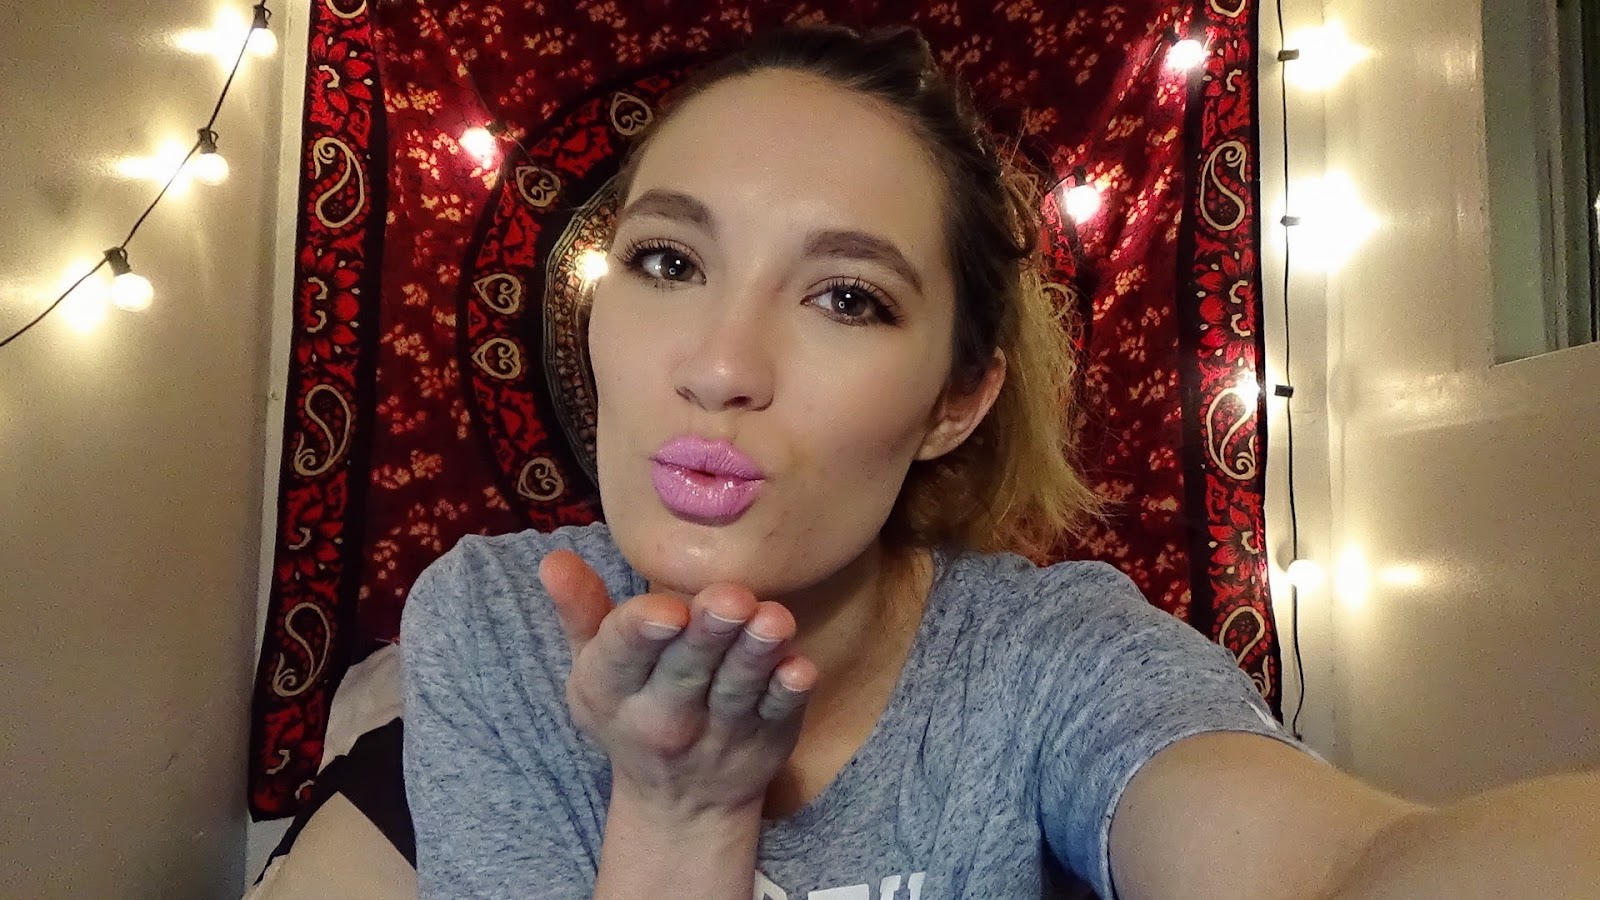
Look #1 // Simple eyes and Barbie pink lips

1. Prime your eyelids with the primer of your choice, I used a sample of NARS Smudgeproof Eyeshadow Base.
2. Choose a sparkly shadow of your choice (I used 'Steady' from the UD x Gwen palette, a gorgeous champagne toned shimmer shade). Pat this all over your lid using your finger.
3. Using a crease brush, take a light tan shade using windshield wiper motion into the crease of your eye (I used 'Stark from the UD x Gwen palette, a cream shade with a hint of tan).
4. Using the same crease brush, use a darker warm brown shade and focus this in the outer v of your eye (I used 'Zone' from the UD x Gwen palette, a warm brown). This will create depth and dimension to your eyes.
5. Using the same darker brown shade you just used, run this along your lower lashline to create a smokey effect, don't worry about making it precise, it's called 'smoking out your lower lid' for a reason!
6. Apply a brown eyeliner of your choice (I used MAC 'Rich Experience', a very deep brown), and run this as close to your lashes as possible, from the outer corner to the inner corner of your eyelid. This will create depth.
7. Apply a mascara of your choice (I used Lancome Grandoise, this mascara is great at lifting your lashes and making your eyes look really open and bright, which is exactly what I wanted for this look). Apply one coat, we're going for lifted, fluttery, romantic lashes.
8. Apply a pink toned lipstick of your choice (I used MAC 'Saint Germain', a crazy bright neon Barbie pink). This will make your look really stand out!
Look #2 // Cranberry eyes and muted nude lips

1. Prime your eyelids, as done in look #1.
2. Set your primer with a skin-tone shade matte eyeshadow (I used 'White Chocolate' from the Too Faced Chocolate Bar palette).
3. Take a matte light pink color through your crease and all over your lid to create a pink toned base for this look (I used 'Strawberry Bon Bon from the Chocolate Bar palette).
4. Take a wine/cranberry shimmer shadow (I used MAC 'Cranberry', a gorgeous true cranberry shimmer shadow) with a tapered shadow brush, and work this from the outside of your eyelid, working your way in. Use your brush in circular motions at the outer edges, then work your way in. This will create more depth on the outside of your eye.
5. Take a blending brush (I love my MAC 224, I use this brush for everything from blending to setting my undereyes) with windeshield wiper motions across the crease and lid to eliminate any harsh lines you may have created.
6. Using a warm light brown matte shade, (I used 'Salted Caramel' from the Chocolate Bar palette, the most perfect matte transition shade for my skin tone) work this directly into your crease using the same windshield wiper motion to add warmth and subtle transitioning to your eyes.
7. Go back to your cranberry shadow, using a lid brush, and pack it directly onto only your lid.
8. Take a burgundy / deep warm brown toned shadow (I used 'Cherry Cordial' from the chocolate bar palette, a gorgeous deep burgundy) on the outer v, to add some extra depth and dimension.
9. Using the same color you've just used, take a pencil / smudger brush and take this shadow from your outer corner to the middle of your eye on the bottom lashline.
10. Using a warm lighter brown (I used 'Milk Chocolate' from the Chocolate Bar palette, a warm matte brown), bring this along the entire lashline, just as you did in look #1. This will make the eye look really complete, and add some smokiness to the look. Run your blending brush along the lower lashline after this step to ensure no harsh lines or residue.
11. Using a high-shimmer / metallic shadow of your choice, pat some directly on the center of your lid, and only there. A gold-tone shadow would work very well with this look, but I chose an icy pink (NARS Dual-Intensity Shadow in 'Callisto'). This will really make your eyes pop!
12. Go back in with the light brown used in step 6 in the crease once again, to make sure everything is thoroughly blended and seamless.
13. Apply one coat of an extreme volume mascara for big, bold lashes, but with no clumping. My perfect volumizing mascara is the Marc Jacobs Velvet Noir, it's hands-down the best volumizing mascara I've ever used.
14. Apply a nude lip of your choice (I used ABH 'Pure Hollywood' liquid lipstick, a gorgeous matte peachy nude).

These might seem semi-complicated because there are so many steps, but both of these eye looks are so easy to complete, especially look #1. Remember that any products you have will work perfectly fine, and you can create any look using your own collection, just make some tweaks (I'll tell you more about this in tomorrow's post).
I hope you guys enjoyed this kind of a post, and found it helpful, but let me know what you think in the comments below! And, make sure to tell me what your v-day plans are too!

No comments:
Post a Comment